Archive for the ‘GameMake’ Category

Shifty Eyes

This was a rough week for makin’ games, but not a rough week for playin’ games.


I am ashamed to admit that I got very little done this week. I’ll just blame this on the looming holidays and the panic that brings, as well as actually playing video games. And my internet was broke for awhile. And my dog was sick! And I lost my phone, so I didn’t hear when you were calling..


The time I did spend was spent adjusting some of the painting of the images and twiddling a little with the bones. I have been meaning to have a stream session and get to the bottom of the evil right arm that I have no idea what to do with, but I keep not doing that for some reason. My fault. I’m awful.


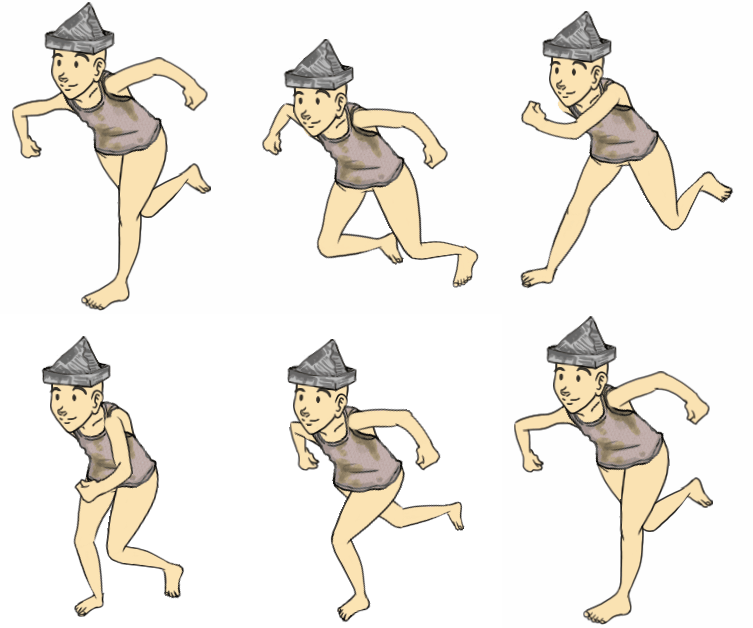
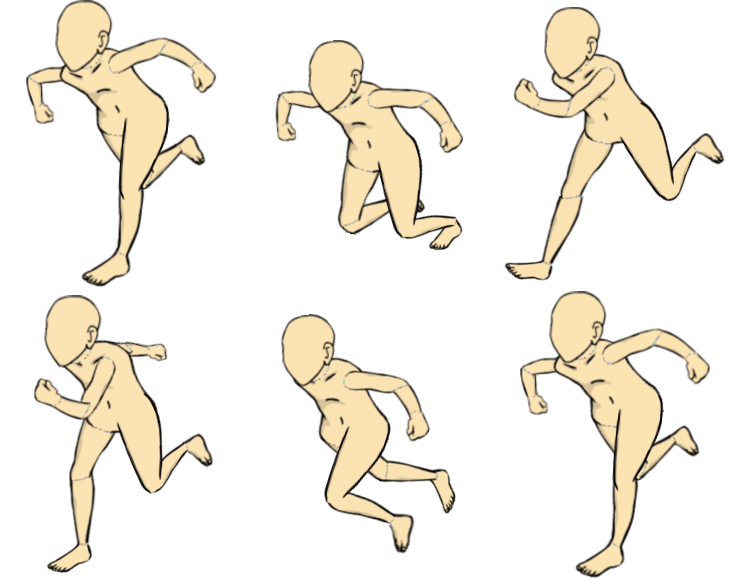
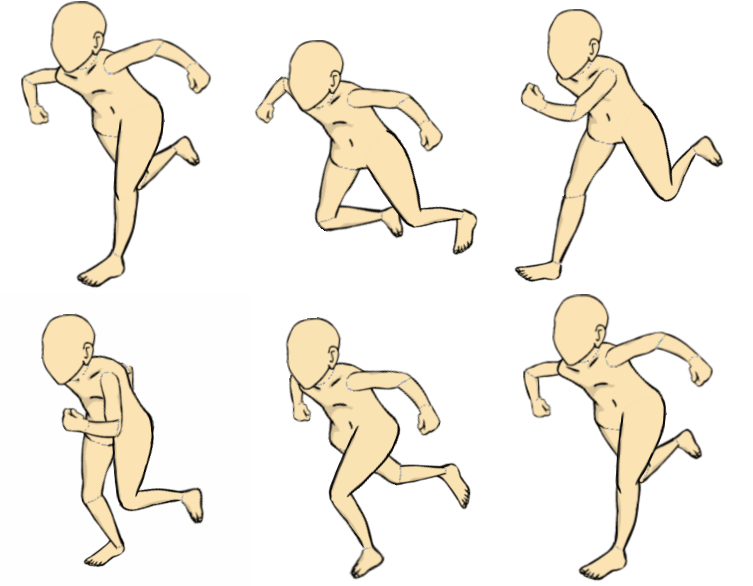
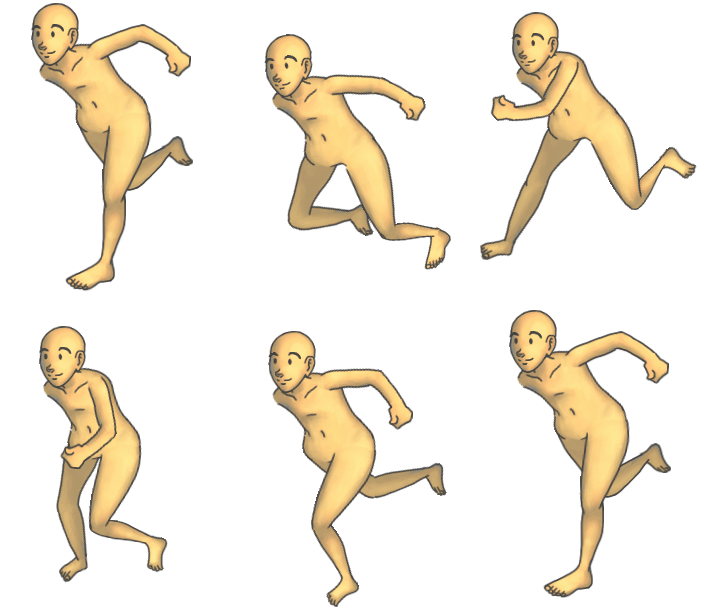
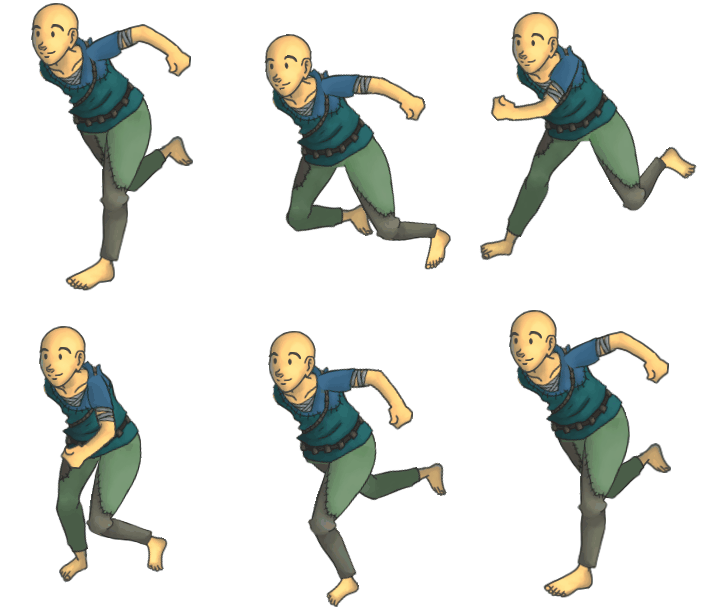
Recoloring (painting) these bones is super simple and non-destructive the way I have it set up. Very intentional design. The base nude pieces are in their own folder, “South Set” (likewise there is a “North Set” , “East Set” and “West Set”). Each set is divided up into each actual piece of the body, most making sense. Head, Neck, Body, Hip, Upper Arms, Lower Arms, etc. Some make a little less sense, like “Face”, which is comprised of all the default face pieces (eyes, mouth, nose, hair), however the base doesn’t really use face. That’s because each outfit set has it’s own face with all of those layers and attributes attached to them. This way they can be mixed and matched however the player would want without having to worry about what is underneath. Having a real “base face” would mean that all of those pieces of the face would show up all the time, which is not what we want.
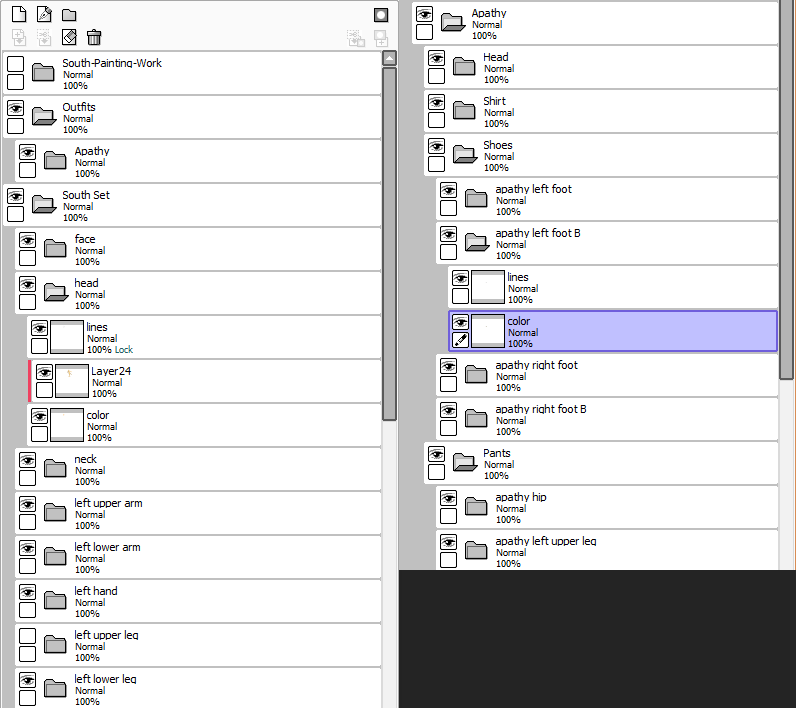


Each outfit set is the same. It layers directly over the bases. The folder you see here is the Apathy Set. Each set here is divided into Head, Shirt, Shoes, Pants, and Misc. Head is like what we talked about before, with the strange exception that hair is divided into two pieces. A “Front Hair” and a “Back Hair”. Front hair appears above the Head base, and back hair appears behind it (and subsequently, behind every other base). This will allow for long hair without getting in the way of any other bone or image. The names of these folders is also super important in keeping spine organized. “Left Upper Arm” and “Left Lower Arm” are the names for the bases, but also used in the name of the outfit sets. “Apathy Left Upper Arm” and “Apathy Left Lower Arm” are used.


I use Photoshop to merge every layer in the base and outfit folders into one layer, and then export all the layers as separate images. It saves a ton of time to make Photoshop batch process all the layers for me. Photoshop names the layers funny, but I use a rename utility and keep everything consistent enough that it only takes a few seconds to have the entire set renamed properly. As soon as the new images replace the old images in their respective folders, Spine is immediately updated.


This organization is also important outside of Sai and Photoshop. The actual folders on my HDD are arranged very similar. Animations -> South -> (Base images here) -> Outfits -> Apathy. Everything being neat and in it’s place keeps me from going insane.


I like to think of each outfit group as a different Set. And adding a new set is exciting to me, like collecting something that’s part of a bigger picture that you can mix and match with your other existing sets. It’s like getting expansions for your appearance. But more than that, it makes outfits less daunting to me if I’m making different whole outfits instead of just trying to make 30 different hair styles at once.


There is more on this I want to cover but I will save it for another time when a wall of text will distract you from a lack of photos.
 

How To Pretend

None words.


Watermelons

Had my first bout of crashes with Spine late this week. Nothing major, and while I could consistently recreate the error, I’m not sure how to explain it other than “I set these settings to X and then tried to do one very specific action”. You can see why Hawk likes me so much, I’m a great bug-finder-man!


This week saw a lot of converting. I turned all the old animation images into new ones and then tweaked the bones accordingly based on the new image sizes. I also broke some bones apart and converted them into two bones, namely the torso and hip. That alteration could have gone a lot smoother. The face as a whole is also it’s own bone, and will probably need to be broken down even further in the future. Even more important was the setting up and testing of the outfits. Every bone started with one attachment each*, the naked base you’ve been seeing. Adding clothes and outfit items is as simple as having a second attachment for that bone that I can toggle on and off. Wherever it is located on the bone dictates where it will be for the entire animation (relative), so it moves perfectly with the existing animation. I thought I was going to have an issue with clothing items getting out of alignment, but I get to dictate where each individual article of clothing is relative to the bone, so everything can be fine-tuned. The only thing I haven’t tested/messed with is clothes that will be need to be altered during the animation itself (like a scarf flapping). I’m sure it’s doable easily, just haven’t given it any thought yet (odd are though they might require their own special bone for animations like that). But enough talk.


I spent today redrawing and reorganizing my folders for the animation so that it will be easily to actually flip, and then paint both of them. The process of getting the files into Spine quickly is greatly increased by having every image already flat (lines+color as one layer) because I can use photoshop to export all my existing layers as pngs. But for editing and altering the art itself everything needs to be separated. I made some mistakes when redrawing these, in that I accidentally saved my file after I had flattened the layers and didn’t realize it in time enough to undo my mistake.


Anyway, this means all that is left for the downward animations are painting them and dressing them properly (and of course always slightly tweaking the animations to look better). Still in the process of redrawing and breaking apart the North facing set. It looked pretty rough to begin with and I’ve always kind of hated it. I am hoping to have it completely finished and ready sometime tomorrow. Then all that’s left is dressings. Such wow!


((I give my bros some shit sometimes, but everyone has been fairly supportive of my taking 8,000 hours to learn animation and not want to do it super improperly, so thanks. When I burn through everything that isn’t animation in a month you will miss the days when it looked like I was the farthest one behind <3))


March, March, March

Slow week! Or lazy week. Or preoccupied with other things week! But fear not.


Flash would not let me export my base images at a higher resolution, and I cannot for the life of me figure out why. After a few hours of messing with it though, I stopped caring. I realized I was going to be redrawing the individual pieces anyway, so it didn’t matter much what it looked like. This is more than just proof-of-concept though. These are the final bones and file I intend to use for these animations. The art will swap, the bones will tweak, but we’ll be on the same file at least (meaning everything inside the file is extremely organized so I don’t lose my mind).


Right now he’s got kind of stomp which I’m working on dampening. I really dislike this animation. Every piece seems a little off, its shape and the way it’s drawn just don’t feel right. Yet, strangely enough, when it’s all together and moving it comes across as a lot better than I feel it actually is.


New Tricks

The comment was made that my old animations looked better than my new animations. After a little searching of my soul, I found this to be an accurate assessment of my current work. I needed to compare and figure out why this was. I decided to do a 1:1 import from the old Flash files into Spine to help me figure out where I was going wrong.


stepped


interpolated


The 1:1 has a few errors in terms of how it translated into Spine because I wasn’t using bones proper in Flash. I would just remove images or make them invisible when they weren’t ‘in use’, but with real bones, they always need to exist so you’re getting a weird translation from frame X to frame Y. It’s even more pronounced here because the hand is actually being mirrored, and it’s doing it gradually frame-to-frame. So instead of being normal one frame and backwards the next, it’s normal, and then halfway in-between, and then flipped, and halfway again. These are easily fixable issues though, and I’ve already corrected them.


Th big differences are that I was not afraid to squash, stretch and skew when I was using Flash. For some reason though, since I’ve moved to Spine I haven’t done any scaling of the images at all, and I don’t know why. It’s why the old animation looks so stiff. Because.. it is!


So now I’m in the process of importing all the files for the north animation into Spine and cleaning it up. This one is a little harder because I didn’t have these images on hand already like I did for the south animation (I had used it as reference when building the new set). So I’m still ripping and mapping the bones. From there it’s just a matter of painting it and calling it good. It’s ridiculous to think I wasted so much time rebuilding the animations for.. absolutely no reason. I want to say “at least I learned a lot!” but I’m not entirely sure I did this time. Old dogs.


Actually, for the amount of time I’ve put into this project, it’s crazy how much of it feels wasted and how little I have to show for it. I’m uh, sorry, about that. I guess time doesn’t equal results, always.