Prioritization

I was deathly ill last week, but, no such luck this week, so let’s get right to it. We’ll start with art talk and then move into realtalk.


The Art


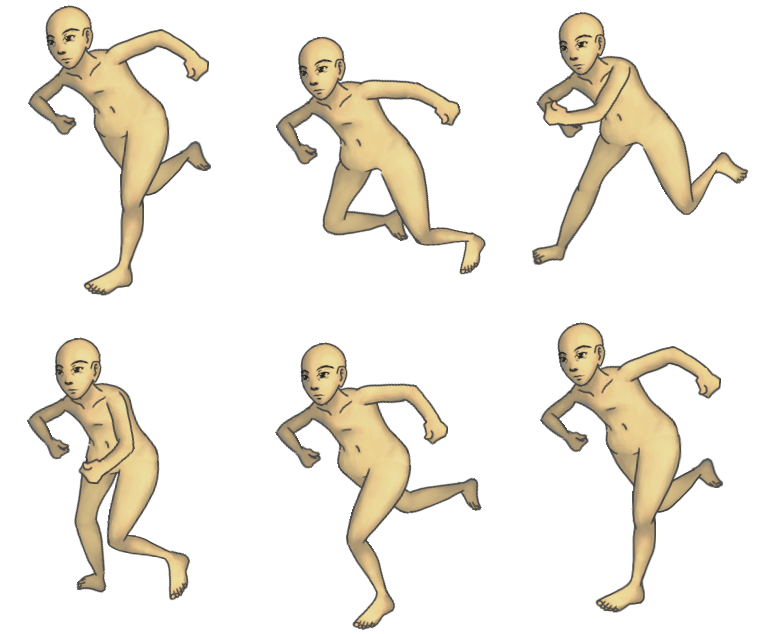
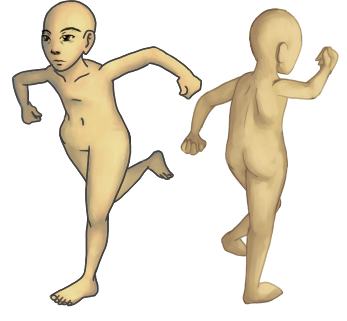
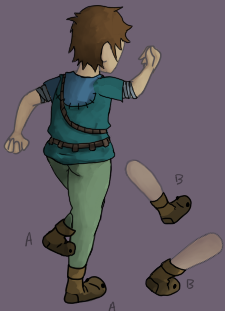
My last big issue with this has been the feet. I broke down the issue by thinking “How would I handle a sock?”, and then went from there. I kept the feet the way they were, but broke the shoes into two parts: the bottom base and the ankle area. The base is attached to the foot bone, and the ankle attached to the lower leg bone. Initial results are as follows.
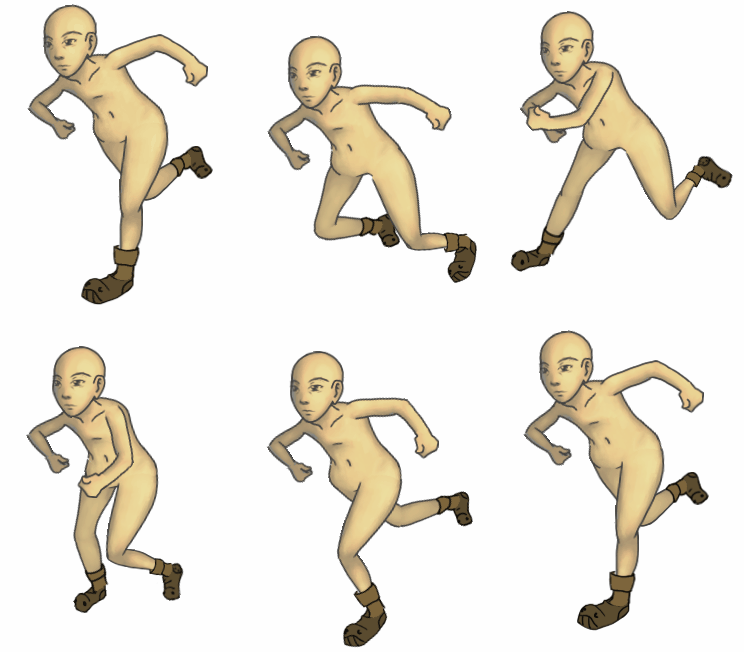
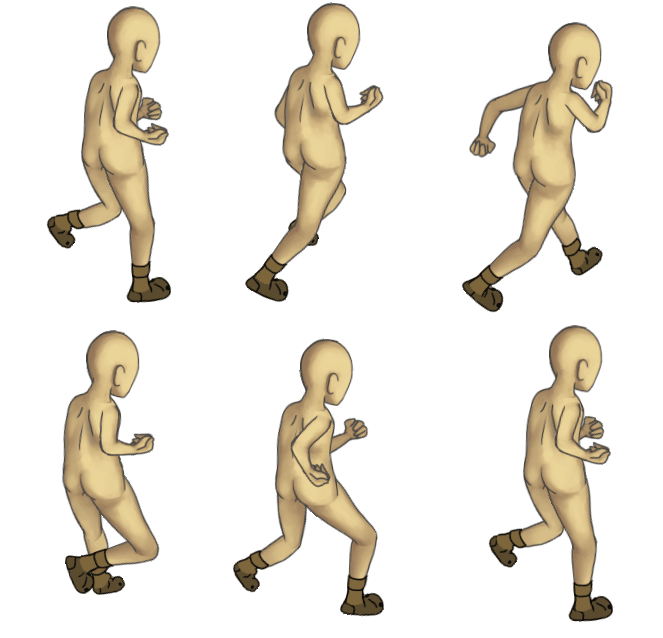


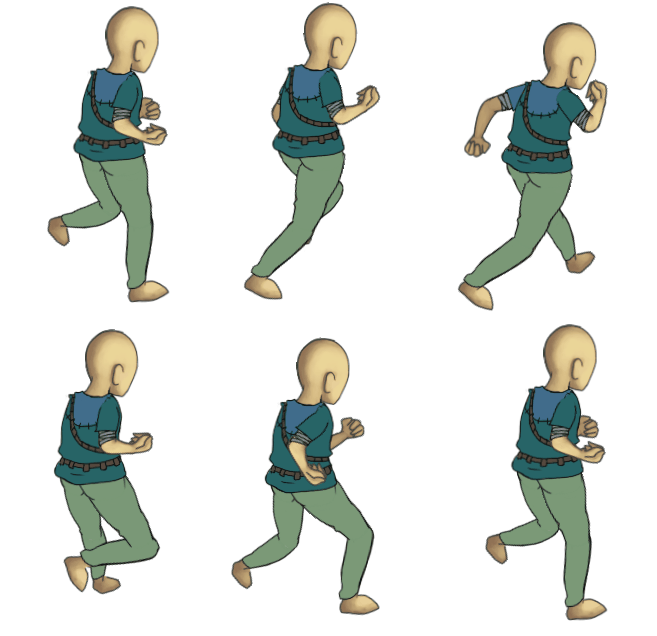
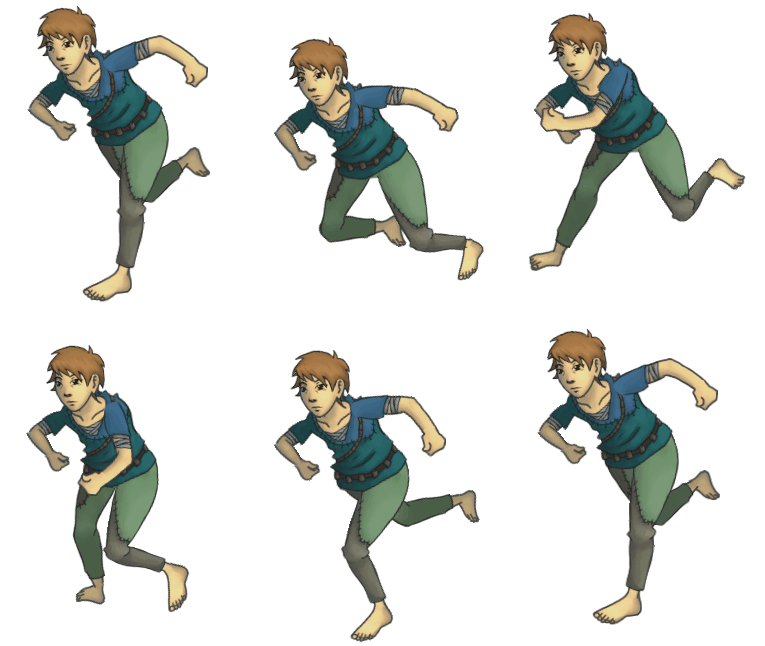
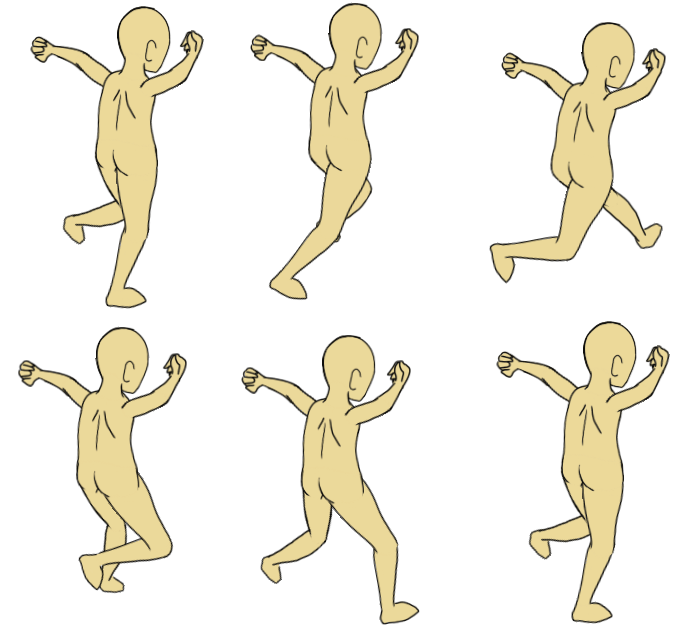
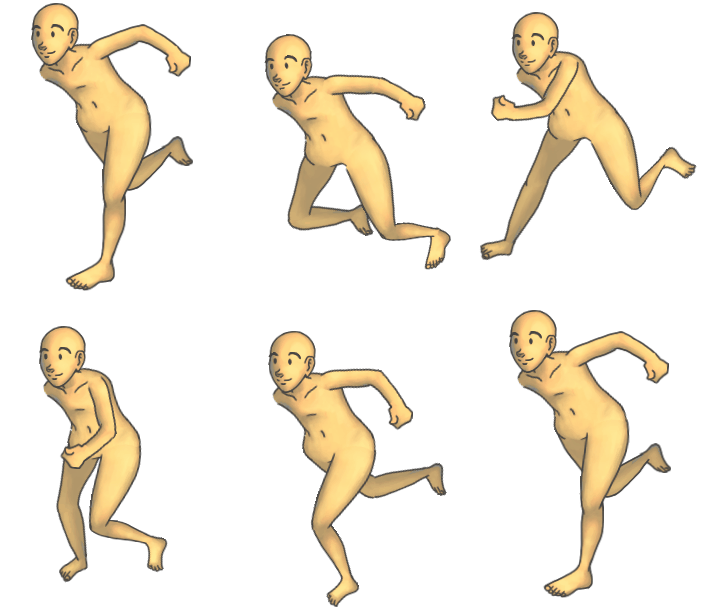
This will definitely work (and it’s still neat to me that you can’t even see the terrible alignment errors at full speed). This is a big moment for me because it marks the end of the very obvious terrible issues I have been having it. All it needs is painting and visual tweaking. You’ve probably also notice I’ve left parts of the animation ‘unfinished’ for awhile, like the arm on the downward animation, how it’s just sitting there all derpy. This is a subtle way of me telling myself that it’s OK to leave something bad for awhile so I can progress past the point I was stuck at. I will talk in length about this at the end of the blog. Anywho, here is the current state of these two gents.
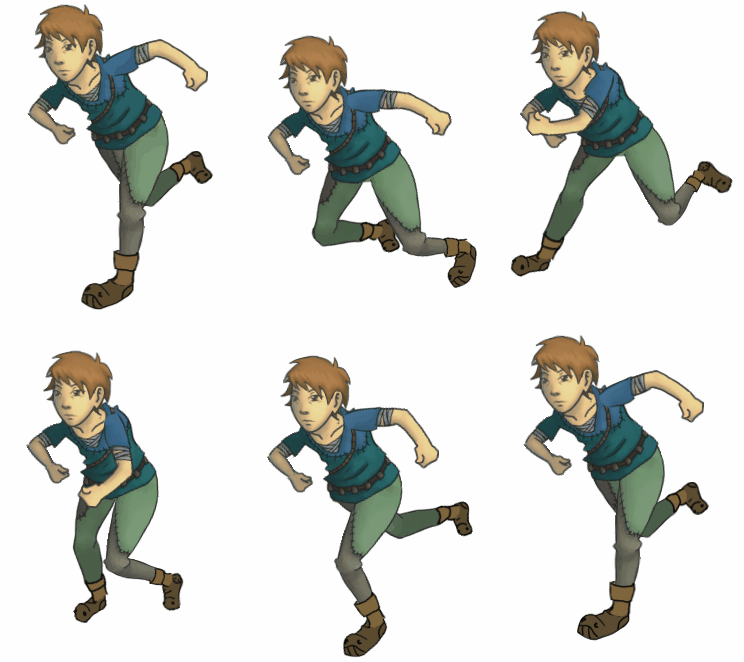
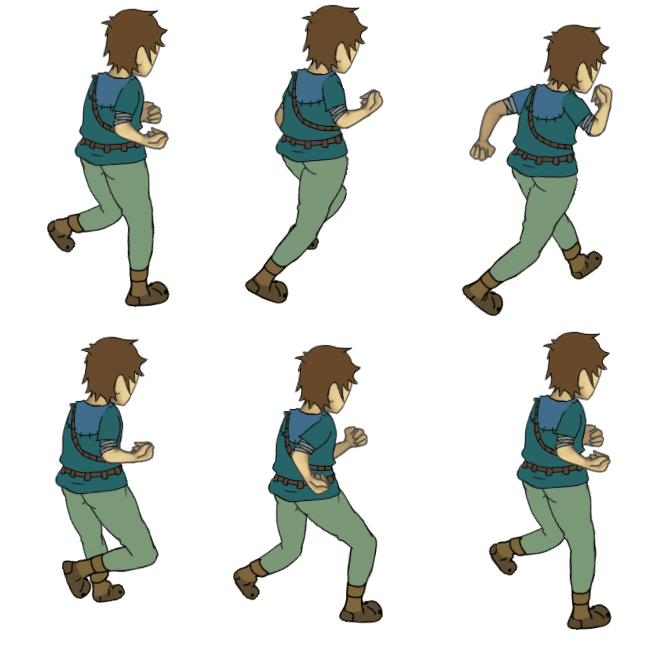


So next step is painting the north set here. Let’s just get that done real fast. First step is a rough lighting profile


Pay the layering no mind. From here we’ll do the basic stuff on a per-layer basis.
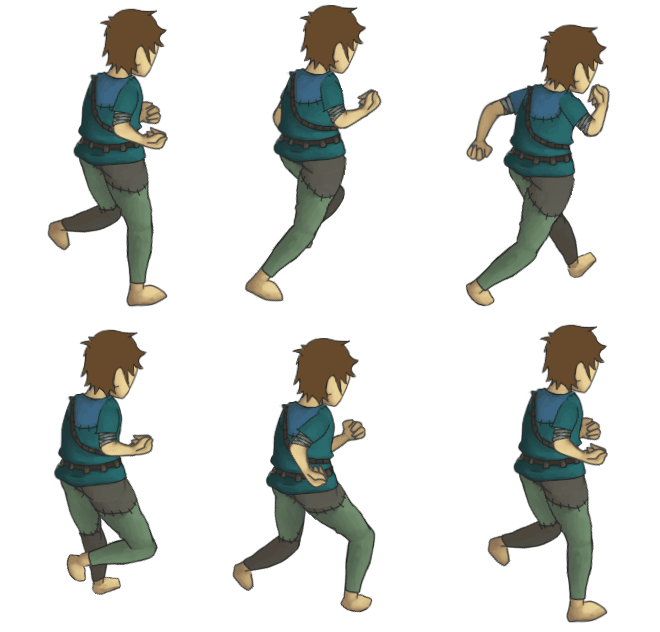


Definitely not happy with the intensity of the legs. After adjusting them all that is left is painting the hair and properly drawing and painting the shoes for both sets.
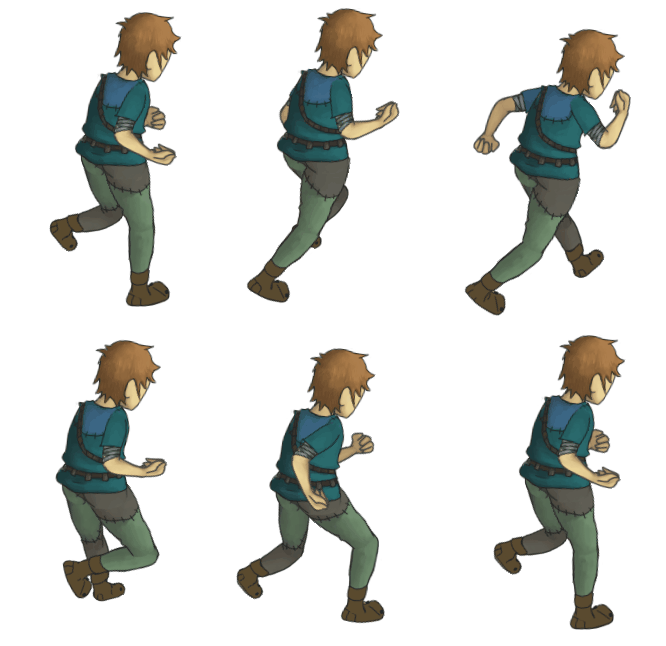


Still sans painted shoes (because I am tired and lazy) I’ve increased arm length of the upwards set and gave him more of a lean so he looks like he gives more of a shit about what he’s doing. All that remains is more animation tweaks* (so much arm error). Does this finish the entire set? No, actually. I now have to tackle mirroring these. No big whoop. However, I really want to see these in some sort of action and know how complicated I’ve made things for Hawk, so I am sending him this half set with very clear “skeleton flipX/Y” instructions.


The RealTalk


Slight visual tweaks and things will be something that I am constantly doing, I am sure. I am always noticing something I want changed or edited, but holding on to everything until it hits my stupid standards isn’t good, and doesn’t make for a healthy project. I constantly find myself frustrated with things that a better person would be fine with. This is an issue I’m working on in all aspects of my art-life, especially when I go and try to draw something on paper. I have developed a terrible perfectionist mind-set that is doing way more harm to my psyche than good. I’ve always had it to some degree, and I think most artists do, but I’m in danger of becoming a worse version of George Lucas and need to learn to get things out there and let them live.


I ignore most criticism about the speed in which I’m churning this art out. Partly because I am aware of the speed I can get things done and partly because everything I’m hearing I already know. Goddamn if I haven’t spent forever on this section of the game. I feel terrible about it, it’s a ridiculous, and unnecessary, blow to team morale. I spent too much time learning and trying to figure out how to do what I’m doing, and then just as much time actually doing it. I feel like I’ve been at the end of this animation hump forever, with something new always cropping up to slow me down. What we all need is more visual updates, in motion, in the game, more frequently like it used to be. Something I am more than capable of doing. I still have a mountain of work left ahead of me and I’ve spent a huge amount of time in the hardest area for myself.


Let’s finish up what we have left here and be prettier, more often.
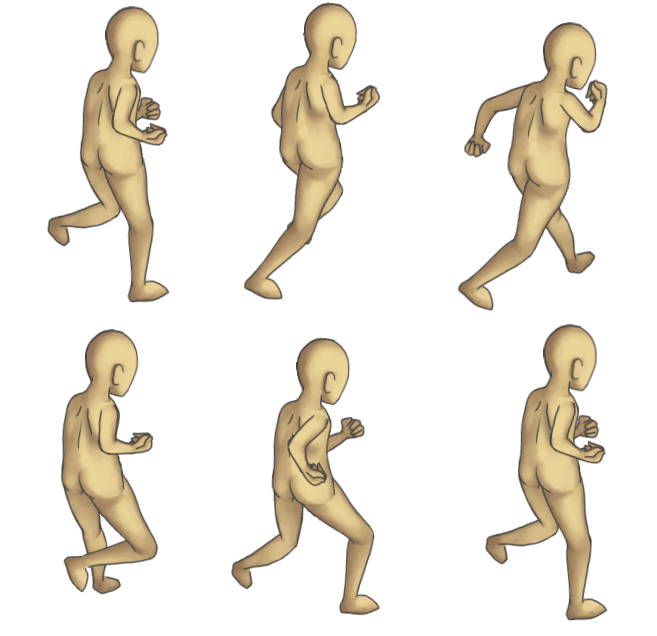
 

Dootis?

In a constant state of ‘behind-and-almost-done‘. I ran into some neat issues. Sai, where I do all of my drawing/painting has a hard layer limit of 256 which I was unaware of consciously. So instead of having all of my images for all animations in one big file, I had to break it up into a new .psd for each direction. It’s really way better to do things this way, I just.. wasn’t expecting the extra time sink.


Aside from tweaking that outfit to make him look less frumpy (trust me, we’ve come a long way in that department) my to-do list is very tiny now, but the part I’m on is killing me.


  • Redesign out Spine is dealing with Feet (hard/hate/arggghhh!)
  • Paint North Outfit (easy)
  • Mirror Bases for East/West (prob easy??)
  • Draw/paint East/West outfit (easy)


And that’s like, it. One stupid hurdle.


I also got frustrated and timed myself to see how long it would take to break apart one of my old concept sketches.


Took almost exactly one hour to break it apart and roughly clean it, and.. this terrible test animation took like 10 minutes. Needs work. Proof-of-whatever, though, I guess?


So Close

I promised myself I’d have map animations totally finished by this weekend. I.. promise myself a lot of things.


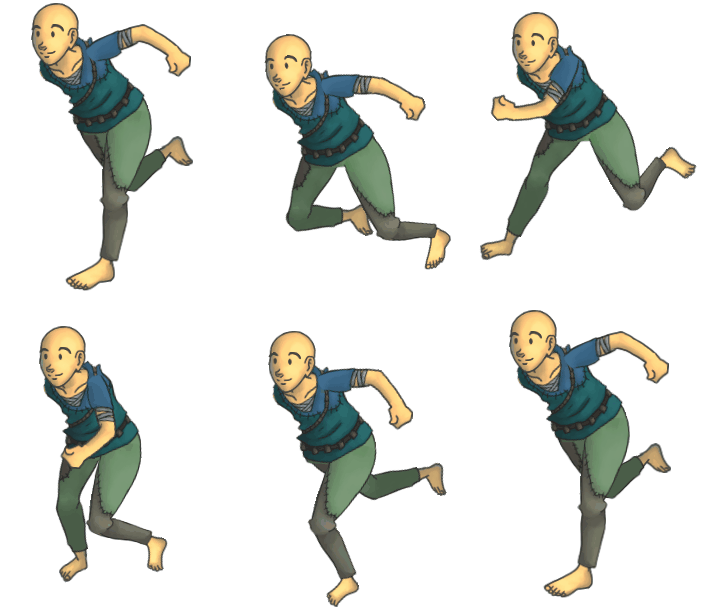
Recolored the base animation. It was a little intense, but we all knew that. I drew painted a lot of the outfit pieces too to make them look a little more grounded. I added in all the proper bones and layout for face and hair and adjusted them accordingly. I started on trying to make this character look more like Codename: Apathy Teen. It’s pretty important to me to be able to transfer the character how I imagined him into motion. It’s also super weird when to watch it come together.


Hair needs to be tweaked more. Color and outline are bothering me a bit. Things lacking are properly adding the painting to the North set. I add a clipping layer over the entire folder set of pieces and then get a rough idea of lighting and slight coloring. It’ll all be adjusted to match up with it’s brother piece, as shown.


Animating these pieces is almost done too, just some arm tweaking and then general edits. I have some foot/shoe issues that have been cropping up with both sets and I am in full on debate mode on how to deal with them.


I’m down to just a couple thing on my to-do list. Adding the proper painting for north, adding the proper painting for the outfits (finished the bone layout for it today), and then figuring out the foot issues/arm issues. From there the only step left is messing with map idle animations and the mirror versions. I desperately want to get this done before Christmas, and should be able to manage that.


Shifty Eyes

This was a rough week for makin’ games, but not a rough week for playin’ games.


I am ashamed to admit that I got very little done this week. I’ll just blame this on the looming holidays and the panic that brings, as well as actually playing video games. And my internet was broke for awhile. And my dog was sick! And I lost my phone, so I didn’t hear when you were calling..


The time I did spend was spent adjusting some of the painting of the images and twiddling a little with the bones. I have been meaning to have a stream session and get to the bottom of the evil right arm that I have no idea what to do with, but I keep not doing that for some reason. My fault. I’m awful.


Recoloring (painting) these bones is super simple and non-destructive the way I have it set up. Very intentional design. The base nude pieces are in their own folder, “South Set” (likewise there is a “North Set” , “East Set” and “West Set”). Each set is divided up into each actual piece of the body, most making sense. Head, Neck, Body, Hip, Upper Arms, Lower Arms, etc. Some make a little less sense, like “Face”, which is comprised of all the default face pieces (eyes, mouth, nose, hair), however the base doesn’t really use face. That’s because each outfit set has it’s own face with all of those layers and attributes attached to them. This way they can be mixed and matched however the player would want without having to worry about what is underneath. Having a real “base face” would mean that all of those pieces of the face would show up all the time, which is not what we want.


Each outfit set is the same. It layers directly over the bases. The folder you see here is the Apathy Set. Each set here is divided into Head, Shirt, Shoes, Pants, and Misc. Head is like what we talked about before, with the strange exception that hair is divided into two pieces. A “Front Hair” and a “Back Hair”. Front hair appears above the Head base, and back hair appears behind it (and subsequently, behind every other base). This will allow for long hair without getting in the way of any other bone or image. The names of these folders is also super important in keeping spine organized. “Left Upper Arm” and “Left Lower Arm” are the names for the bases, but also used in the name of the outfit sets. “Apathy Left Upper Arm” and “Apathy Left Lower Arm” are used.


I use Photoshop to merge every layer in the base and outfit folders into one layer, and then export all the layers as separate images. It saves a ton of time to make Photoshop batch process all the layers for me. Photoshop names the layers funny, but I use a rename utility and keep everything consistent enough that it only takes a few seconds to have the entire set renamed properly. As soon as the new images replace the old images in their respective folders, Spine is immediately updated.


This organization is also important outside of Sai and Photoshop. The actual folders on my HDD are arranged very similar. Animations -> South -> (Base images here) -> Outfits -> Apathy. Everything being neat and in it’s place keeps me from going insane.


I like to think of each outfit group as a different Set. And adding a new set is exciting to me, like collecting something that’s part of a bigger picture that you can mix and match with your other existing sets. It’s like getting expansions for your appearance. But more than that, it makes outfits less daunting to me if I’m making different whole outfits instead of just trying to make 30 different hair styles at once.


There is more on this I want to cover but I will save it for another time when a wall of text will distract you from a lack of photos.


How To Pretend

None words.